
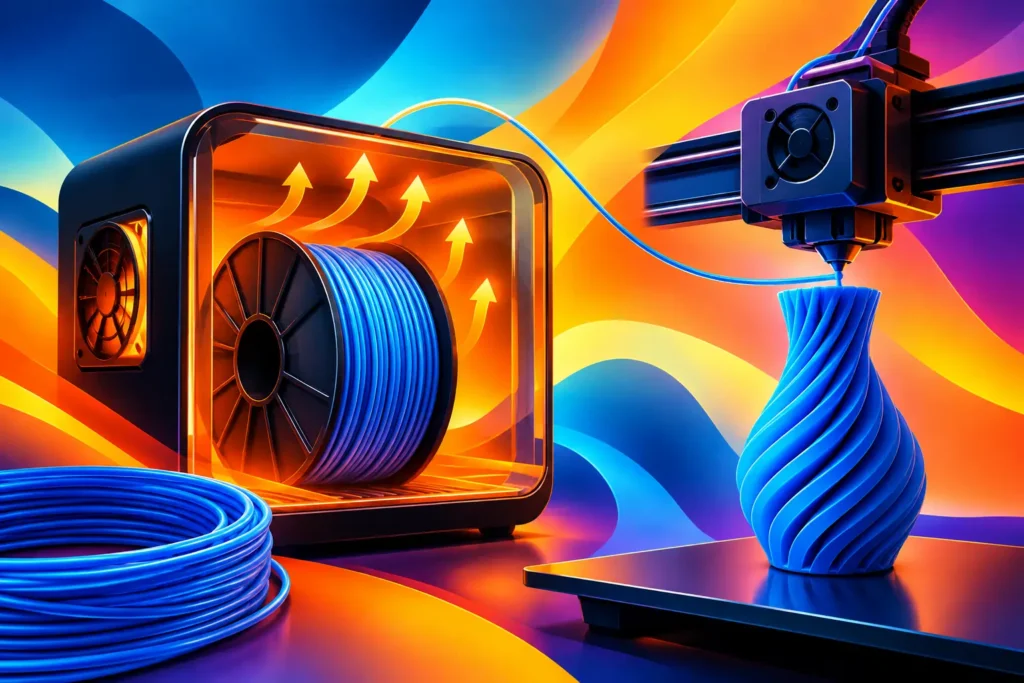
A spool can look perfectly fine and still be full of moisture. Then the nozzle starts popping, wisps show up around your part, and a print that should be clean and strong turns rough and brittle. Knowing how to dry wet filament safely gives you a real shot at saving the spool and getting back to smooth, reliable prints.
Moisture is not a minor cosmetic issue. For many 3D printing materials, it can affect surface finish, layer bonding, dimensional consistency, and strength. The good news: most damp filament is recoverable when you use controlled heat, enough time, and a little patience.
How to Dry Wet Filament Safely
The goal is simple: warm the spool enough to release absorbed water without softening, deforming, or fusing the filament together. That means low, stable temperatures matter more than blasting the spool with heat.
Use a purpose-built filament dryer when possible. These units are made to circulate gentle heat around a spool and are the easiest way to dry material with less guesswork. Set the dryer for the material you are using, let it run for several hours, and keep the spool inside until you are ready to print.
A food dehydrator can also work well, especially for makers with multiple spools to maintain. Choose one with adjustable temperature control, remove or modify trays only if the spool fits without touching the heating element, and confirm that air can move around the material. A dehydrator is a practical option, but it should be dedicated to filament after use. Do not use it for food afterward.
A home oven is the least predictable option. Many ovens overshoot their displayed temperature, cycle aggressively, or have hot spots that can warp a plastic spool before you realize it. If an oven is your only choice, use an independent oven thermometer, start lower than the recommended material temperature, and monitor the spool closely. Never place filament directly on a hot metal rack or near an exposed heating element.
Do not use a microwave. Do not use a heat gun. Do not leave a spool on a sunny windowsill and call it dry. Those methods create uneven heating and can quickly turn usable material into a tangled, misshapen mess.
Start With the Right Temperature
Different plastics absorb moisture differently and tolerate heat differently. PLA Pro needs a gentler approach than PETG, while TPU often needs more drying time because flexible materials can hold a surprising amount of water.
For PLA and PLA Pro, aim for roughly 104-122°F. ABS can generally handle about 140-158°F. PETG is commonly dried around 149-158°F, while TPU is often best around 104-131°F. These are useful working ranges, not a reason to set a device and walk away for a full day. Every spool, dryer, and printer environment is different.
When in doubt, start low and extend the drying time. A spool that needs another few hours is recoverable. A spool overheated until the coils stick together may not be.
Signs Your Filament Has Absorbed Moisture
The classic sign is audible popping or crackling as the filament melts in the hot end. That sound comes from water rapidly turning to steam. But not every wet spool makes noise, especially at lower print temperatures.
Look at the printed part, too. Moisture can cause a rough or fuzzy surface, tiny pits, stringing that seems impossible to tune out, inconsistent extrusion, or a dull finish where you expected a clean sheen. In severe cases, you may see weak layers, under-extrusion, or filament that snaps more easily than it should.
These symptoms can overlap with a partial clog, incorrect nozzle temperature, poor retraction settings, or a worn extruder gear. That is why drying is not magic. If your filament has been stored out in the open, though, drying is one of the fastest variables to eliminate before you start changing every setting in your slicer.
How Long Should You Dry a Spool?
For mildly damp filament, four to six hours may be enough. For a spool that has been sitting exposed in a humid garage, basement, or workshop for weeks, plan on six to twelve hours. TPU, PETG, nylon, and other more moisture-sensitive materials may need a longer session.
The best test is a short print after drying. Use a model with walls, retractions, and a little detail rather than judging from a purge line alone. If the popping is gone and the surface looks cleaner, you are moving in the right direction. If not, dry it longer at the same safe temperature before raising the heat.
Keep the Spool From Getting Damaged
Drying temperature is only part of the equation. The spool needs even airflow and room to sit without being squeezed, tilted against a heat source, or trapped in a closed container with no ventilation.
Cardboard spools need extra attention. They can tolerate careful drying, but high heat and long exposure may weaken the cardboard or affect labels. Plastic spool rims can warp if a dryer runs hotter than expected. Keep the spool centered, avoid stacking spools unless your dryer is designed for it, and check the material after the first hour.
If you are using a food dehydrator, make sure the spool does not touch the bottom heating area. Some makers add a simple elevated rack that keeps the spool above the base while allowing airflow underneath. The setup does not need to be complicated. It just needs to keep heat even and controlled.
Never dry a spool in a sealed plastic bag. Moisture needs somewhere to go. A dryer with a vent, a dehydrator, or another ventilated setup gives water vapor a path out instead of cycling it around the spool.
Storage Is What Keeps the Problem From Returning
Drying fixes the material you have. Smart storage protects the print quality you paid for.
Once a spool is dry, move it into an airtight storage bag or container with fresh desiccant. Vacuum bags are useful, but they do not need to stay perfectly compressed to work. The real goal is reducing the amount of humid air around the filament. A sealed tote, gasket box, or heavy-duty zip bag can all do the job when paired with enough desiccant.
Rechargeable color-indicating desiccant makes maintenance easier because it shows when it has absorbed moisture. Keep a small humidity indicator in larger storage bins if you have several open spools. For everyday printing, feeding filament from a dry box can be a smart move for PETG and TPU, especially in humid parts of the United States.
It also helps to think about what you print most. PLA Pro is generally more forgiving than TPU, but it still benefits from dry storage when you want a clean surface and consistent extrusion. PETG rewards good storage with clearer surfaces, fewer strings, and less troubleshooting. Quality material performs best when it is protected between projects.
When Drying Will Not Solve the Print
If a spool still prints poorly after a safe, extended drying cycle, the cause may not be moisture. Check whether the nozzle is partially clogged, whether the extruder gear is slipping, and whether your temperature or cooling settings match the material. A loose PTFE tube or inconsistent bed leveling can also create failures that look like filament trouble.
There is also a point where old or damaged filament may not be worth saving. If it has become brittle enough to snap repeatedly before reaching the extruder, is fused together on the spool, or has visible contamination, replacement is usually the faster path to dependable prints. Saving a few dollars is not worth losing a long prototype or a weekend project to preventable failures.
Build Drying Into Your Print Routine
The best makers do not wait for a disastrous print to think about moisture. Before a detailed cosmetic job, a functional PETG part, or a flexible TPU print, give the spool a quick check. Has it been open for months? Has humidity been high? Did the last print show extra stringing or little surface bubbles?
A few hours in a controlled dryer can turn a frustrating spool into reliable material again. Pair that habit with strong, consistent filament and proper storage, and your printer gets to do what it should do: turn your next idea into a part worth keeping.