
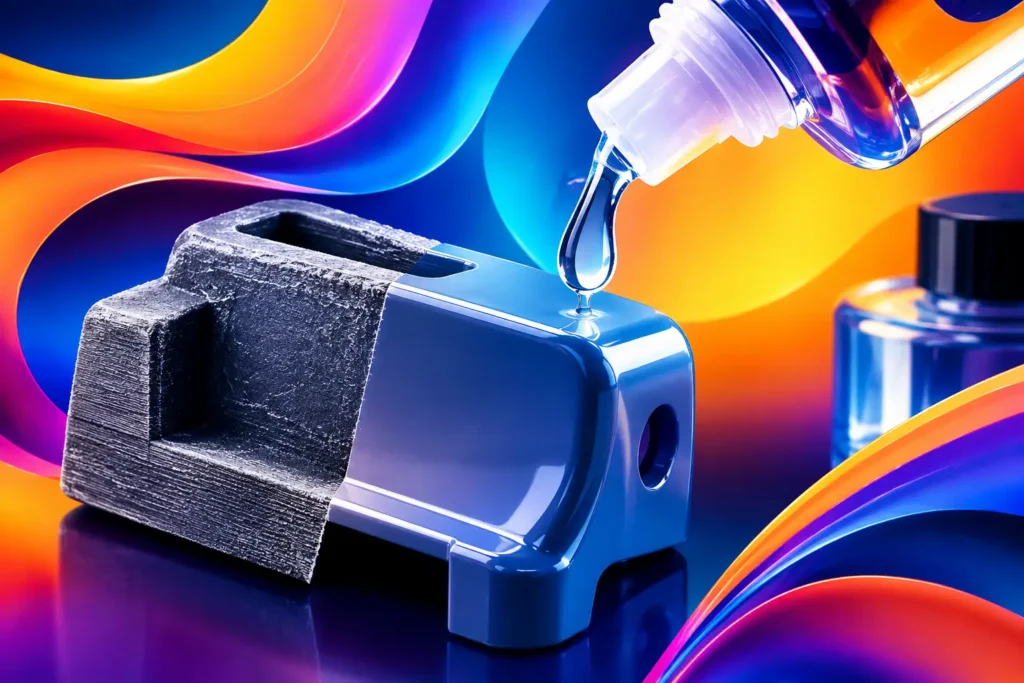
A clean ABS print can look production-ready right off the build plate. But when layer lines stand between your part and that polished finish, you may ask: can ABS be acetone smoothed? Yes. Acetone can chemically smooth ABS, turning a textured FDM surface into a glossy, more uniform one. The catch is that it is a finishing process with real trade-offs, not a magic shortcut.
Acetone temporarily softens the outer surface of ABS. As the softened material flows, the ridges between printed layers blend together. Once the acetone evaporates, the surface hardens again. Done carefully, the result can make an enclosure, display piece, cosplay detail, or visual prototype look dramatically cleaner.
Can ABS Be Acetone Smoothed Safely?
It can, but only with the right setup and respect for the material. Acetone is highly flammable, produces strong fumes, and can damage skin and eyes. Never use an open flame, heat gun, hot plate, or any spark-producing equipment around acetone vapor. Work outdoors or in a well-ventilated area away from living spaces, pets, and ignition sources.
The safest approach for most makers is controlled acetone vapor smoothing. That means suspending the print in a sealed, acetone-resistant container while a small amount of acetone creates vapor inside. The part should not sit in liquid acetone. Direct contact can erase sharp features fast, leave blotches, and soften a part beyond recovery.
Wear chemical-resistant gloves and eye protection when handling acetone. Use a stable glass or metal container with a secure lid, and keep the process out of reach of children. Plastic containers are not automatically safe – acetone attacks many common plastics. If you are unsure whether a container is compatible, do not use it.
What Acetone Smoothing Does to ABS
The best acetone-smoothed ABS parts have broad curves, simple geometry, and surfaces where appearance matters more than precise dimensions. Think props, decorative shells, controller stands, bezels, cases, and presentation prototypes. Layer lines soften, small gaps can close, and the surface becomes shinier.
That same chemical action can work against you. Fine lettering may blur. Crisp edges round over. Small holes can shrink. Tight-fitting lids, threads, snap features, and moving assemblies may no longer fit as intended. A part that looked dimensionally perfect before smoothing can become slightly distorted after it dries.
Strength is also more nuanced than it first appears. Smoothing may improve the appearance of layer adhesion at the surface, but it does not transform a poorly printed part into a strong one. Internal voids, weak walls, under-extrusion, and poor layer bonding remain inside the print. Start with a solid print, then treat acetone smoothing as a cosmetic finish.
Prepare the Print Before Using Acetone
Acetone smoothing amplifies what is already on the part. It can reduce normal layer lines, but it will not hide every print defect. Blobs, stringing, elephant’s foot, zits, and deep seams may remain visible or become glossy enough to stand out.
Give the part a quick cleanup first. Remove supports carefully, trim strings, and sand obvious blemishes. For a refined finish, begin with a coarse grit only where needed, then move to a finer grit to level the surface. You do not need to sand every layer line away – acetone is there to handle the final blending – but cleaning up defects beforehand produces a much more even result.
Also consider your print settings before the job starts. A lower layer height, properly tuned flow, dry filament, and stable ABS print conditions all reduce the amount of finishing required. Reliable material matters here. Consistent ABS gives you a cleaner starting surface and makes the final result more predictable.
A Practical ABS Acetone Vapor Smoothing Process
There are plenty of improvised methods online, but controlled vapor exposure is the maker-friendly route. Keep the process simple and resist the urge to rush it.
First, place a small amount of acetone in the bottom of a compatible container. Keep the printed part elevated above the liquid on a chemically resistant stand, rack, or suspended support. It must not touch the acetone. Close the container and watch the part through the clear wall if possible.
Exposure time varies with the size of the chamber, the amount of acetone, room temperature, part geometry, and the specific ABS formulation. Small parts may begin changing within minutes. Larger parts may need longer. Check frequently rather than setting a long timer and walking away.
When the surface reaches the gloss level you want, carefully remove the part and place it somewhere clean to dry. This is the moment when many good prints get ruined. Freshly smoothed ABS is soft. Do not touch the visible faces, install hardware, or test-fit components right away. Let it air out and harden completely, ideally for at least several hours and often overnight.
The finish may look uneven while it is still wet. Give it time before judging the result. As the acetone evaporates, the surface stabilizes and the gloss becomes more consistent.
Common Problems and How to Avoid Them
Over-smoothing is the most common failure. The part becomes overly glossy, corners sag, details melt together, or flat walls develop ripples. Shorter exposure is the fix. You can always run another brief smoothing cycle, but you cannot easily restore lost detail.
Drips and pooling happen when liquid acetone touches the part or condenses heavily in one area. Keep the model well above the liquid and position it so recessed surfaces do not collect condensation. A smooth finish should come from vapor, not from soaking.
White marks or a cloudy appearance can result from moisture, contamination, or handling the surface before it is cured. Start with a clean, dry part and keep fingerprints off the surface while it dries. If a piece has deep print artifacts, acetone may smooth the surrounding area while leaving those flaws noticeable. Sanding first is usually the smarter move.
Warping is another issue, especially on large thin-walled prints. ABS can already carry internal stress from printing. When its exterior softens, that stress can show up as distortion. For parts that must stay flat or meet exact dimensions, skip vapor smoothing or test the process on a duplicate first.
When Sanding Is Better Than Acetone Smoothing
Acetone is not automatically the best finish for every ABS project. Sanding gives you more control when a part needs sharp corners, crisp embossed text, accurate holes, or tight mechanical tolerances. It takes longer, but it removes material exactly where you choose instead of softening the whole exterior.
For functional parts, a hybrid finish often works best. Sand visible faces, clean up seams manually, and leave threads, mating surfaces, and snap-fit areas untreated. You get a more polished appearance without gambling with the geometry that makes the part useful.
Painting is another strong option when you want a smooth look without the high gloss of acetone. Primer and paint can cover fine layer texture while preserving details better than aggressive vapor exposure. Just remember that paint adds thickness, so mask fit-critical features first.
Is Every ABS Filament a Good Candidate?
Most standard ABS filaments respond to acetone, but the exact finish can vary. Pigments, additives, recycled content, blends, and print settings all affect how quickly the surface softens and how glossy it becomes. That is why a test print is not optional if the final part matters.
Print a small sample using the same filament, color, settings, and wall thickness as your intended model. Smooth that sample first. You will learn how your material reacts without risking the project you spent hours printing.
If your goal is a strong, clean ABS part with a polished exterior, start with dependable filament and a well-tuned print. Ddub Tech ABS gives makers a performance-focused foundation, while careful finishing gives the project its final edge.
A few controlled minutes of acetone vapor can turn visible layer lines into a sleek surface. Treat the chemistry with respect, test before committing, and save the process for parts where a glossy finish adds real value.